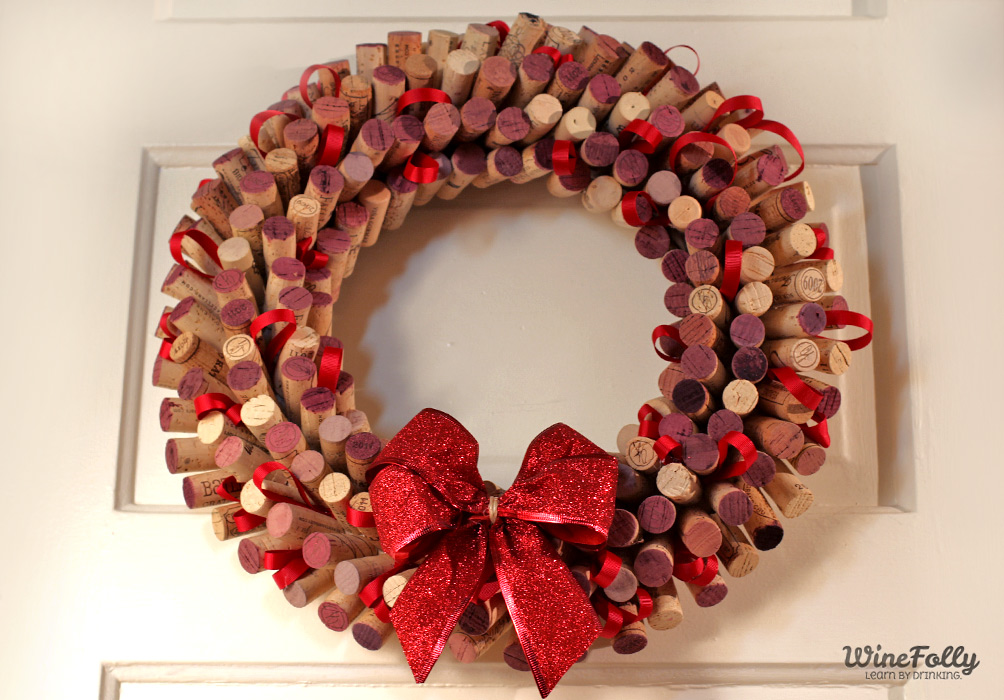
What better way to champion your love for wine than a wreath of corks on your door? At the office, we’ve collected an exorbitant amount of corks so it’s time to get crafty! Making a wreath out of wine corks is not an easy task. Be prepared for a 5 hour hot glue joy ride!
Below we’ll break down everything you need plus some tips to collecting wine corks for free.
Enter to win this wine cork wreath below!
SUPPLIES: Make a Wreath Out of Wine Corks
Everything you need to make a wreath out of wine corks will only cost you $20. If you have to buy wine corks, expect to spend an additional $20.

What you need to make a wine cork wreath.
- 210 wine corks
- 14″ styrofoam wreath
- 20 mini glue sticks and a mini hot glue gun
- 7 yards red ribbon for fill ribbon
- 2 ft glitter ribbon for bow
- 4 ft brown kraft paper
- 1 bottle tacky glue
- 100 satin sewing pins
How to Collect Wine Corks Fast
Bring a small attractive container to your favorite local restaurant and ask if they’ll save their wine corks. Many independent restaurants will say yes! Collect the wine corks once a week so that they don’t overflow. Be polite by coming during the slow times to pick up. For this project we collected wine corks from Poppy restaurant for 4 weeks.

How to Make a Wreath Out of Wine Corks
1. Prepare the stryofoam wreath base
Use tacky glue to attach hand torn strips of natural craft paper to the styrofoam wreath base. This is also the best time to attach ribbon or string around the base for hanging. Brown craft paper as a base helps correct mistakes later on and it also covers up the bright white styrofoam.
2. Angle cut corks & apply to wreath
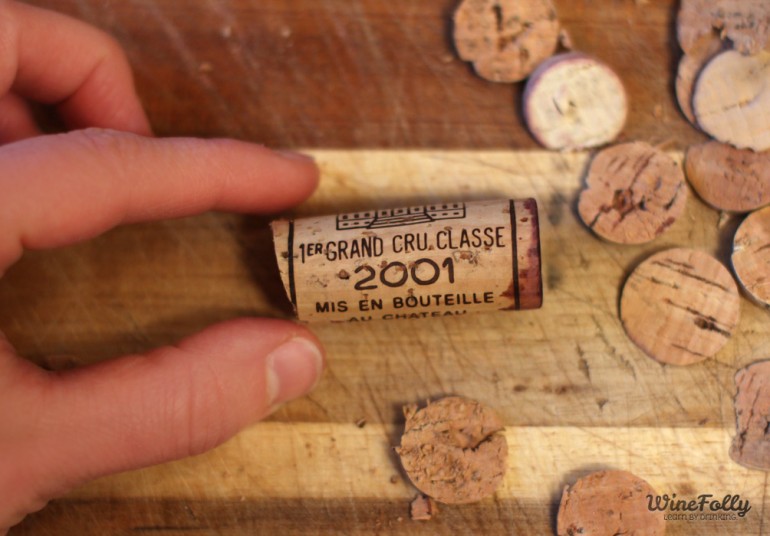
Cut the base of the cork so that the corks are applied at an angle. You do not need to have a perfect cut. The best knife for cutting corks is a straight chef’s knife and not a serated blade.
3. Start with the middle and work towards the sides
Take the angle cut corks and hot glue them around the middle spine of the wreath. After gluing the spine, hot glue corks row-by-row pulling off misplaced ones and regluing them as needed. Hot glue is necessary as it makes the project go faster and easier. This part of the project took 3 1/2 hours.
4. Add embelishments
Red ribbon is pinned and hot-glued around in semi-random spots. It’s helpful to use ribbon to cover up any large holes that reveal the kraft paper underneath. The wreath will use a lot of ribbon, expect to use at least 7 yards to acheive the look. The final addition of the glitter ribbon bow helps add a point of interest. This portion of the project took about 1 1/2 hours.


